Some of you might have seen the webinar Koen Roos and I did last week "More experimentation and faster time-to-market using Sitecore JavaScript Services". You can still register to see the recorded version here. As I did invest some time already in preparing for this webinar. Setting up a demo and investigating how it all works. I thought why not help others in setting up their first JSS component as well.
![]()
What's JSS?
I would assume you already know Sitecore JSS if you are reading this blog. But assumptions are never the key to success. So, what is JSS?
JSS is a complete SDK for JavaScript developers that enables you to build full-fledged solutions using Sitecore and modern JavaScript UI libraries and frameworks. You can develop completely disconnected from Sitecore and even get your project started without a Sitecore install. -- As found on jss.sitecore.net
JSS is Sitecore's response on the headless trend in web development. It allows you to build your crazy front end. By using API call's to Sitecore for your content. And keep using the Sitecore Personalization Layer for your -you guessed it- personalization. If you need more information on the "why", jump over to our company blog from Koen.
Setting up your environment
To get up and running for our first component. There are couple of things we need before we can start on it.
The first thing you need is a running node installation. Just download the LTS install and run it. You can verify by opening up the command line and running node -v to confirm you installation.
The next thing you need is the JSS CLI, it ensures a smooth setup of the next steps and provides an easy to use CLI in getting your components to Sitecore. Install it by running the following command in any command window: npm install -g @sitecore-jss/sitecore-jss-cli. You can verify your install then by running jss --help.
Creating your app
Next step towards your first component is setting up your app. JSS out of box supports React (native), Vue and Angular. The choice is yours, but if you don't have any preference then I suggest you use React.
Open up the command line where you would like to create your application and run the following:
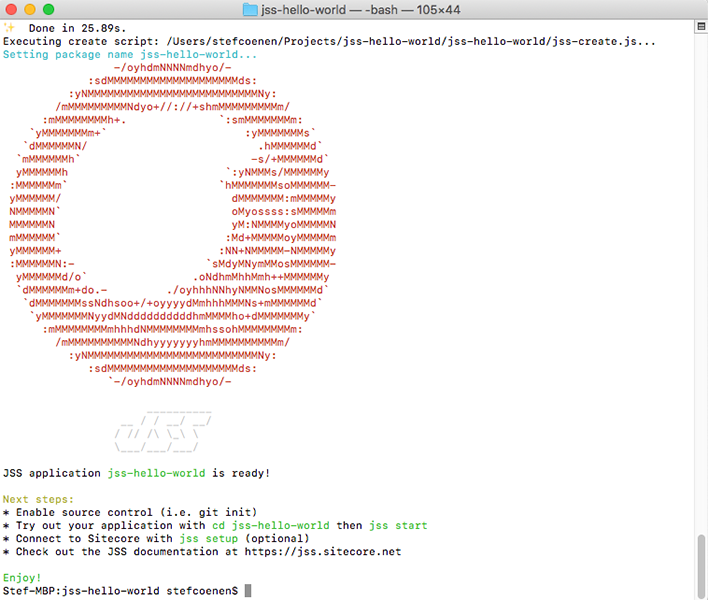
jss create <your-app-name> react
Sit back and watch JSS create your application structure. If all goes well you will see some nice Ascii art marking the end of the app creation.
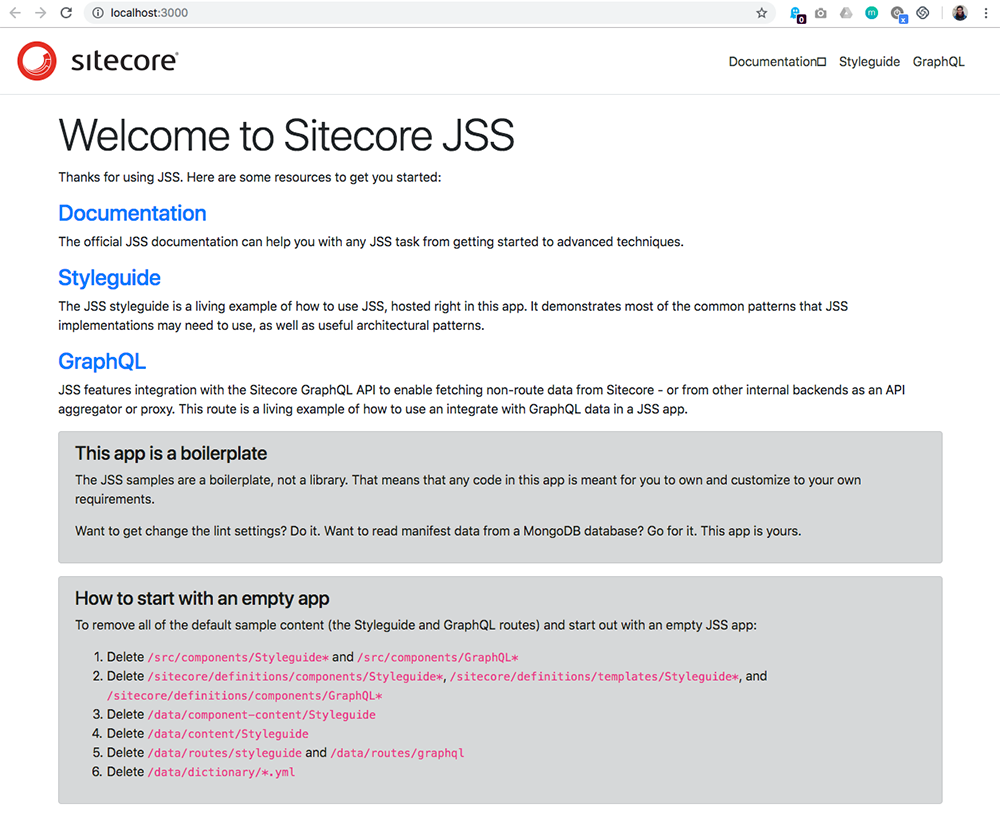
We will run disconnected for this first component so you do not need any running Sitecore instance yet. And this means that you can fire the application up with the following command: jss start. Keep in mind that you first need to have a command line inside the app root folder cd <your-app-name>.
If all goes well your favorite browser opens up and you see a "Welcome to Sitecore JSS" page. Keep this command window open for the following steps as it runs the webserver behind.
Creating your component
If you got this far, then we have everything ready to create our first React Component for Sitecore JSS. We can open up the app we created in a code editor of your choice. I've chosen Visual Studio for the job.
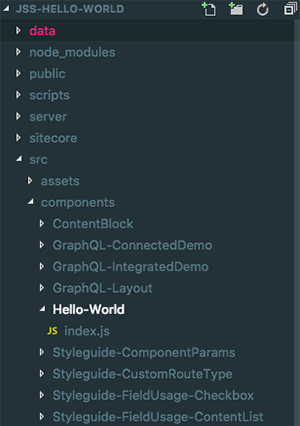
In the tree structure you will see a bunch of files and folders already created. For now we will only focus on "src", "sitecore" and "data".
You can use the automatic scaffolding of your component (jss scaffold MyFirstComponent), but to really understand what is going on, I've added the manual steps below.
Manual scaffolding
Let's create a folder for our first component, you give this the name you want for you component. You do this inside "src/components". Inside of this folder, you will then add the main JavaScript file consistently named "index.js".
Inside this index.js file we can then add some boilerplate code.
import React from "react"
import { Text } from "@sitecore-jss/sitecore-jss-react"

export default class HelloWorld extends React.Component {
  constructor(props) {
    super(props)
  }
  render() {
    return <Text tag="h1" field={this.props.fields.title} />
  }
}
Right now, we have created the "view" of the component. In order for JSS to recognize this as a component. We need to define it as such as well. To do this let's create a new file inside of "sitecore/definitions/components" named <your-component-name>.sitecore.js. In this file you can add the following boilerplate code:
import {
  addComponent,
  CommonFieldTypes,
} from "@sitecore-jss/sitecore-jss-manifest"

export default manifest => {
  addComponent(manifest, {
    name: "Hello-World",
    displayName: "Hello-World",
    fields: [{ name: "title", type: CommonFieldTypes.SingleLineText }],
  })
}
Keep in mind that the component name that you set in this definition should match the folder name, that you created for the view of the component.
Add the component to a route
In order to have the component shown up on a route we need to add it to the content of that route. We do this inside of the "data/routes" folder. Here you can see a "en.yml" file. As long as you are working disconnected from Sitecore. This is the place where your layout and content are defined. Currently this file holds the basic "Welcome to Sitecore JSS" page.
To add our component onto this page, we can add the following above the existing "ContentBlock":
- componentName: Hello-World
  fields:
    title: Hello World
If everything went well, then you should now see the following in the already open chrome window of your app:
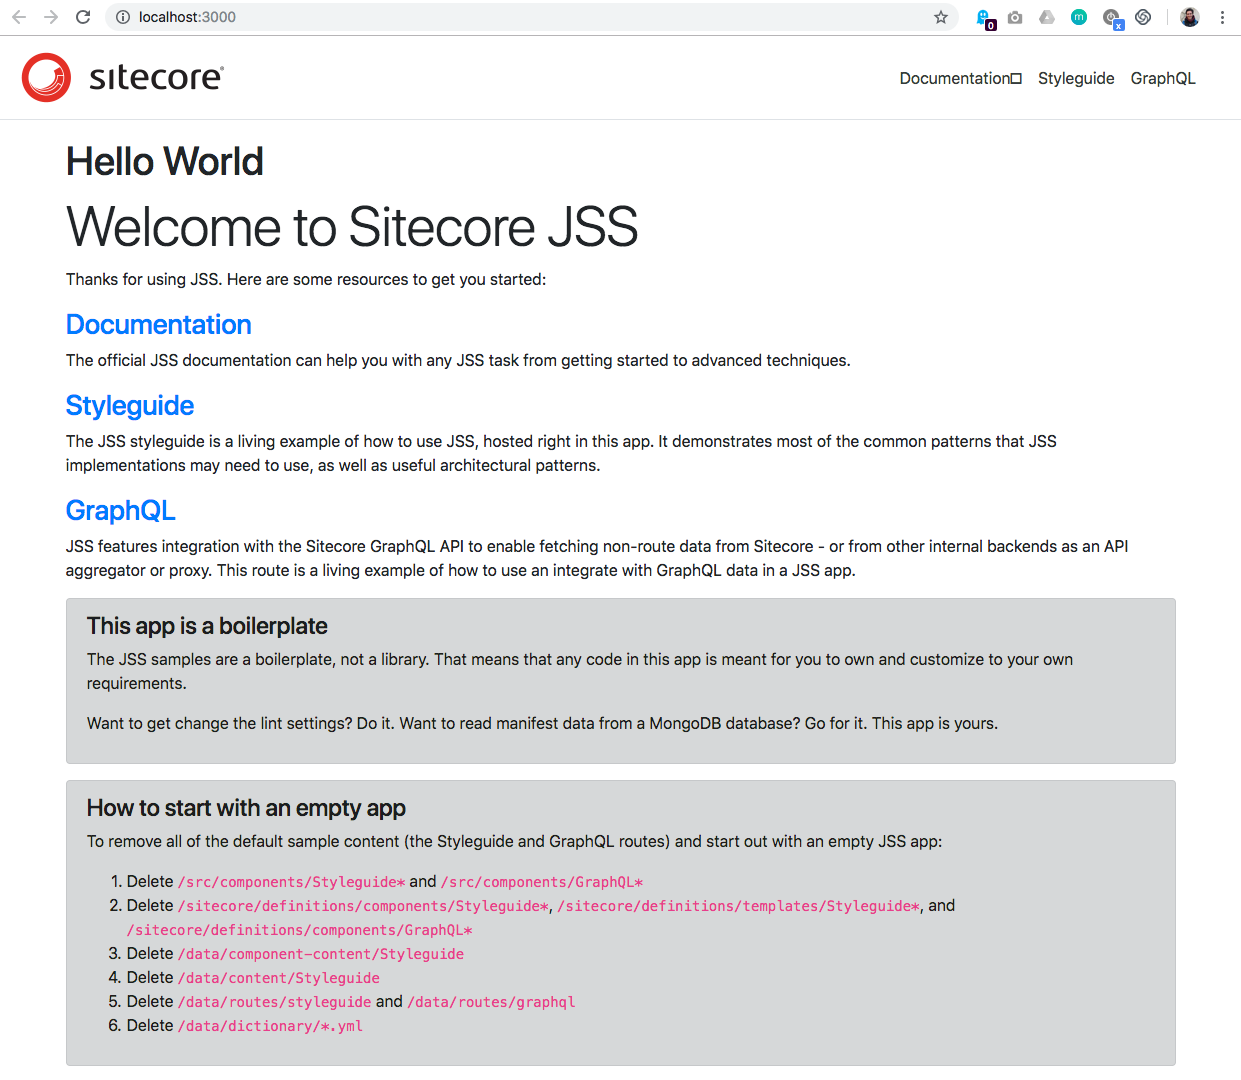
The only thing that's left is for me to congragulate you on your first component. Let it be the start of your adventures inside Sitecore JSS!
If you missed a turn during the steps don't hesitate to take a look into the Github repository containing the results of the steps we took.